Install the SDK
Create your Organization in our Dashboard to get your keys
Get your API Keys
Once you have registered and logged into the dashboard, go to the Configure tab. There you will find your App ID, Public Key, and Secret Key.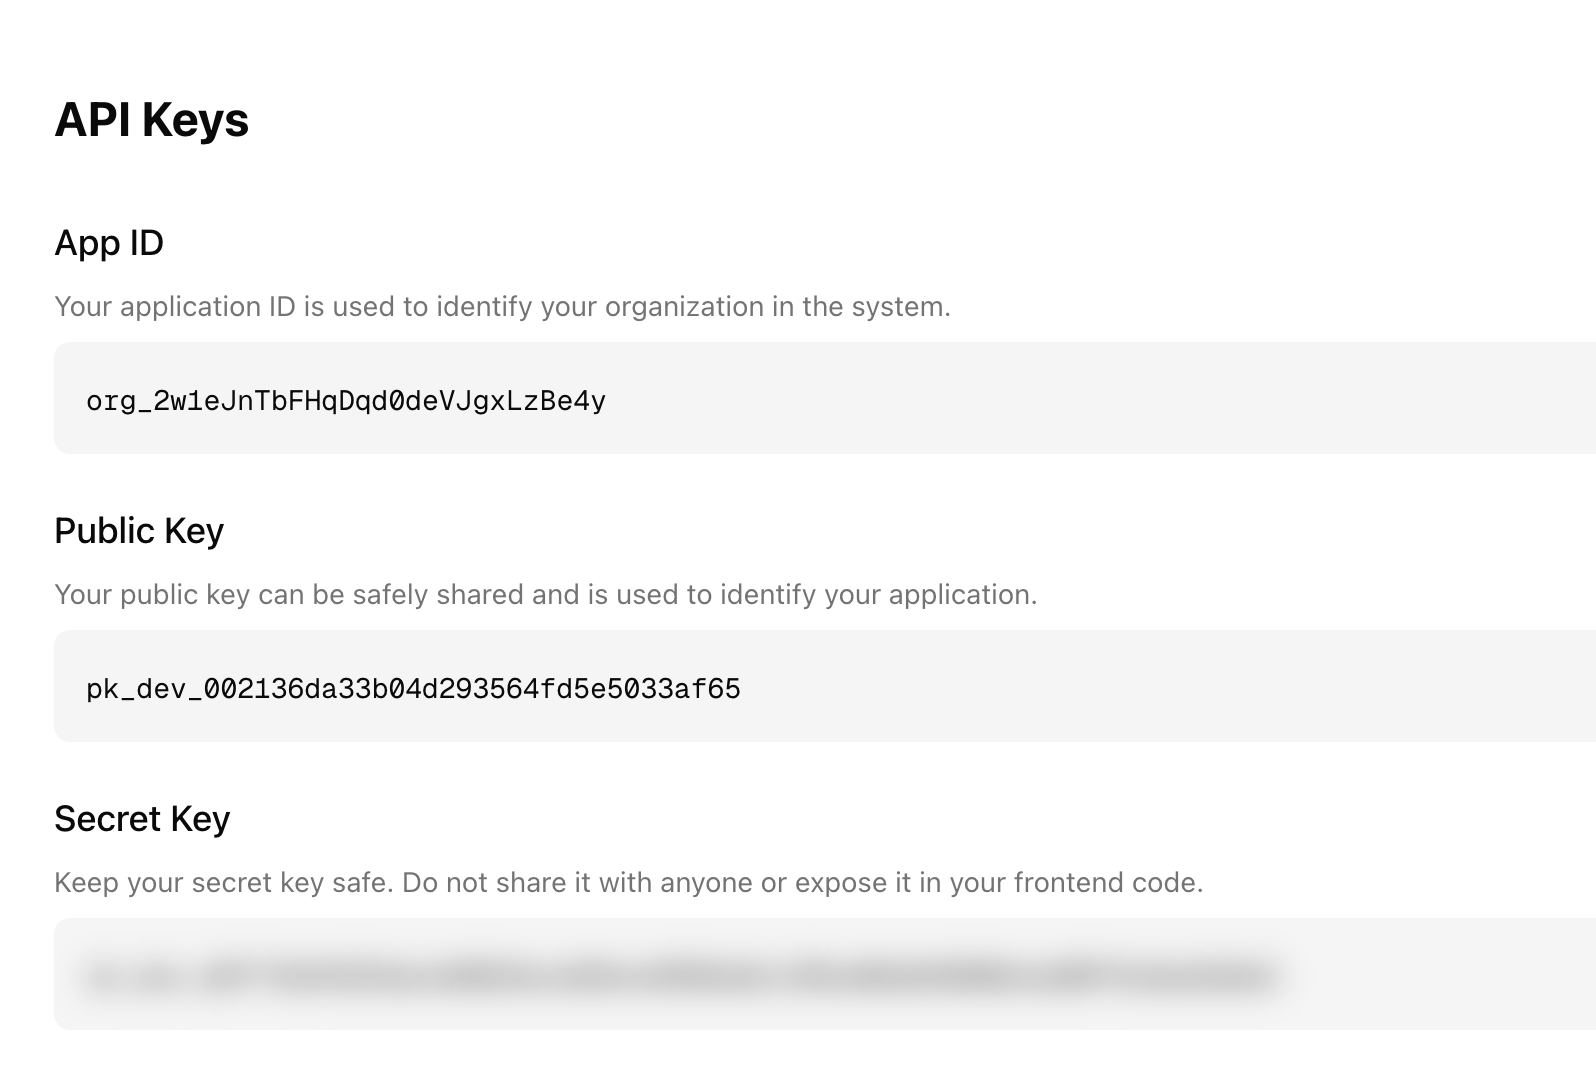
Note: Keep your Secret Key safe and never share it or expose it in your frontend code.
Setup the Provider
The first step is to wrap your application with theChipiProvider component. This provider initializes the SDK and makes all the hooks available throughout your application.
Create a providers file (e.g., app/providers.tsx for Next.js):
app/layout.tsx for Next.js):
- Initializes the SDK with our Avnu Paymaster Provider
- Connects to StarkNet Mainnet via our RPC endpoint
- Makes all Chipi SDK hooks available throughout your application
- Sets up the wallet management infrastructure
Additional Steps
- Obtain Your OAuth Provider API Keys
We recommend Clerk or a similar service to streamline social login with providers like Google, X, or Meta. Once configured, you can pass user tokens to the Chipi SDK for invisible wallet creation.
Wanna Deep Dive?
Expand your knowledge with these resources:Learn to Ship Your First Smart Contract
Get a quick introduction to building on StarkNet.
Sponsor Transactions
Discover how to cover users’ gas fees with Avnu’s paymaster.
Set Up Clerk + Next.js
Seamlessly integrate social login into your Next.js project.
See Our Live Demo
Check out a full example of the Chipi SDK in action.